
The only word i can describe this PG is "Awesome!!!" the Forth? Fifth PG? in my built list, this is the best among all. Even better then PG OO Raiser and of course, the ultimate PG Strike Freedom. There are so many positive thing comes out from my mind when i build it, paint it and pose it. For those who new to gunpla or gundam world, this is the PG Strike Rouge from Seed and Seed Destiny series. Although the actual mobile suit in the anime does not show out how strong it is be but in the gunpla world, this is "Kamisama". Not going to introduce much about this mobile suit but gonna focus more on the gunpla kit itself. First, lets check out the box, manual and the contents.


Too bad, other striker pack only available from 1/60 HG

What if Bandai release a new PG Skygrasper with different striker pack? P-Bandai? hahaha


Still waiting, PG Freedom. Hopefully.

Final construction step is in this booklet.


Before i start on reviewing the building process, I'm going to summarize it here regarding on the structure, detail and articulation.
The Struture
In terms of the entire gunpla structure, it does come with a lot of over layer sliding inner frame all the way to the armor so it can show the inner frame while it bending the arms and leg. The building process is straight forward and doesn't require any spring or screw. It does come with some metal cast part for some joint area such as the knee, I think it will help to further strengthen or tighten joint for long period if it left with pose with stand.
Detail
As for the detail, extremely great. I mean from the inner frame to the all armor plate, everything has been design perfectly. It also come with many hydraulic part where it expose out from the inner frame such as from the lower torso, ankle and armpit. As usual, this PG can have some maintenance hatch open from various part which even expose more on the detail of the inner frame (but i don't bother about that, it actually make some of the part become more fragile and easy to break such as the shoulder armor).
Articulation
Articulations are great, Why? can be said 95% are socket joints. The best part, blockage or obstacle to all joint are very less except the waist which can't turn much. The shoulder joint impress me the most because even it install with Aile Striker pack, the shoulder joint still can raise and create the "X" format standing post which can the entire pose more dynamic. Waist plate armor is not an issue (And damn, there are lot of detail work ready to be paint there).
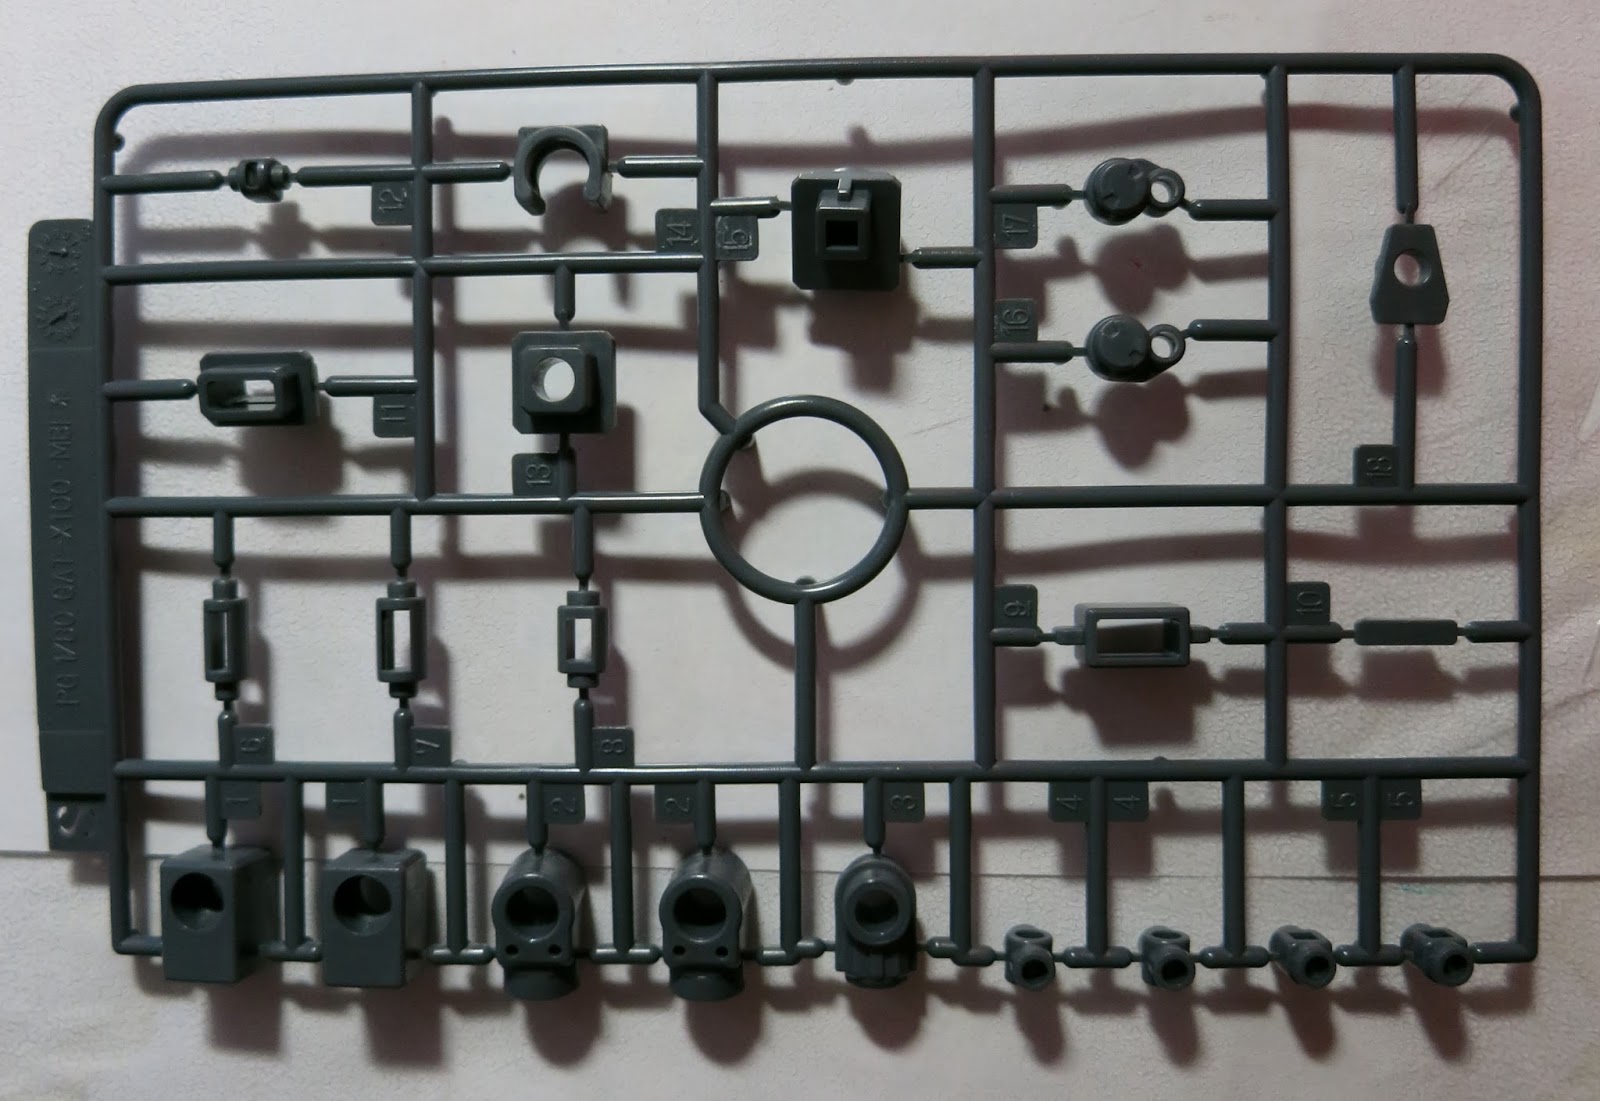
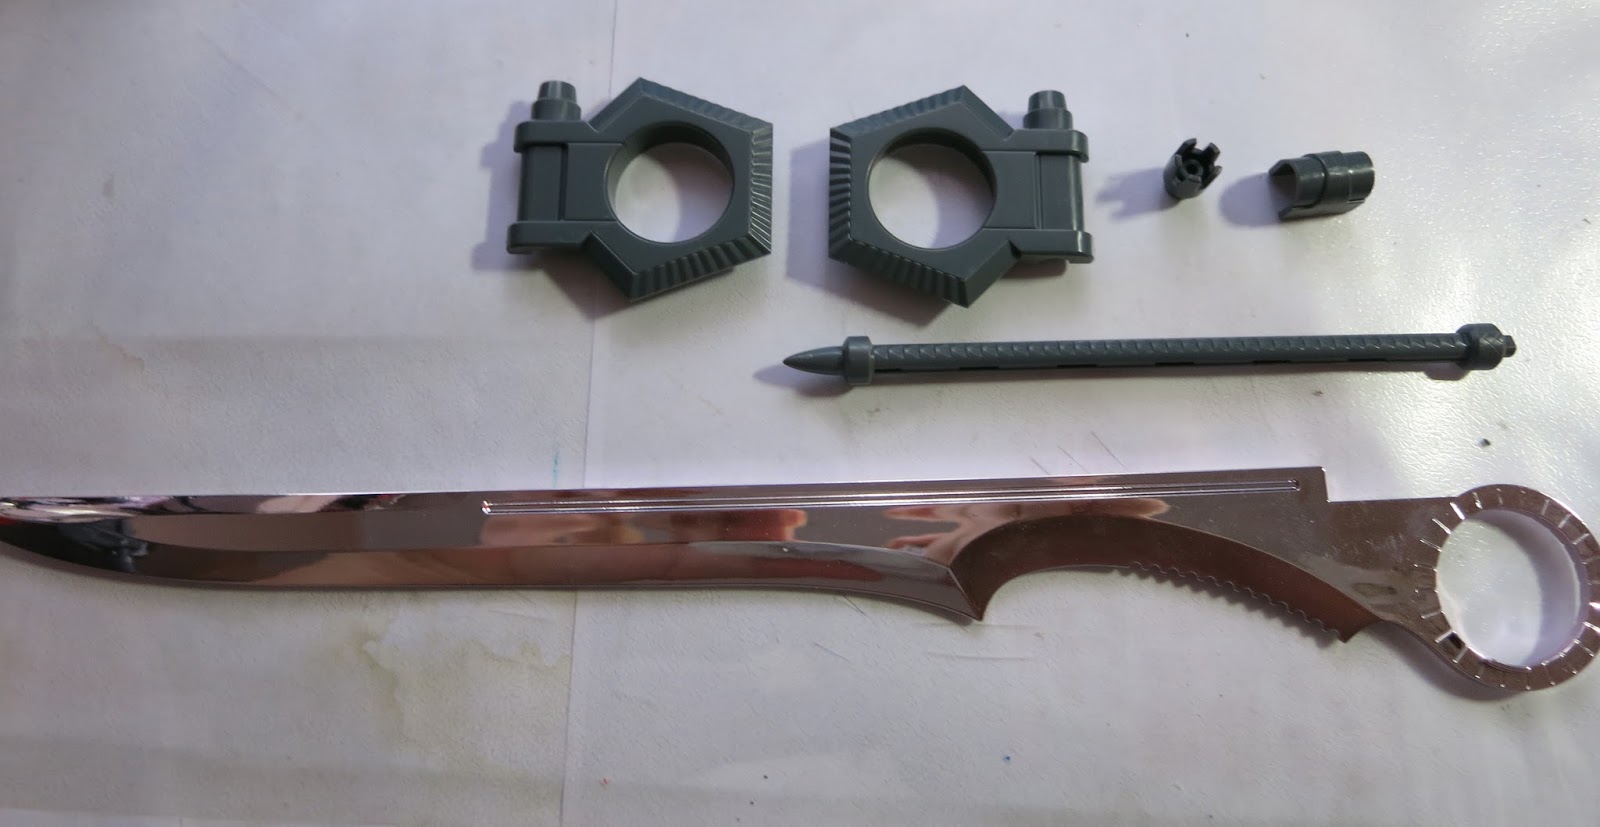
Lets enjoy some building process photos.


The inner part of the body.


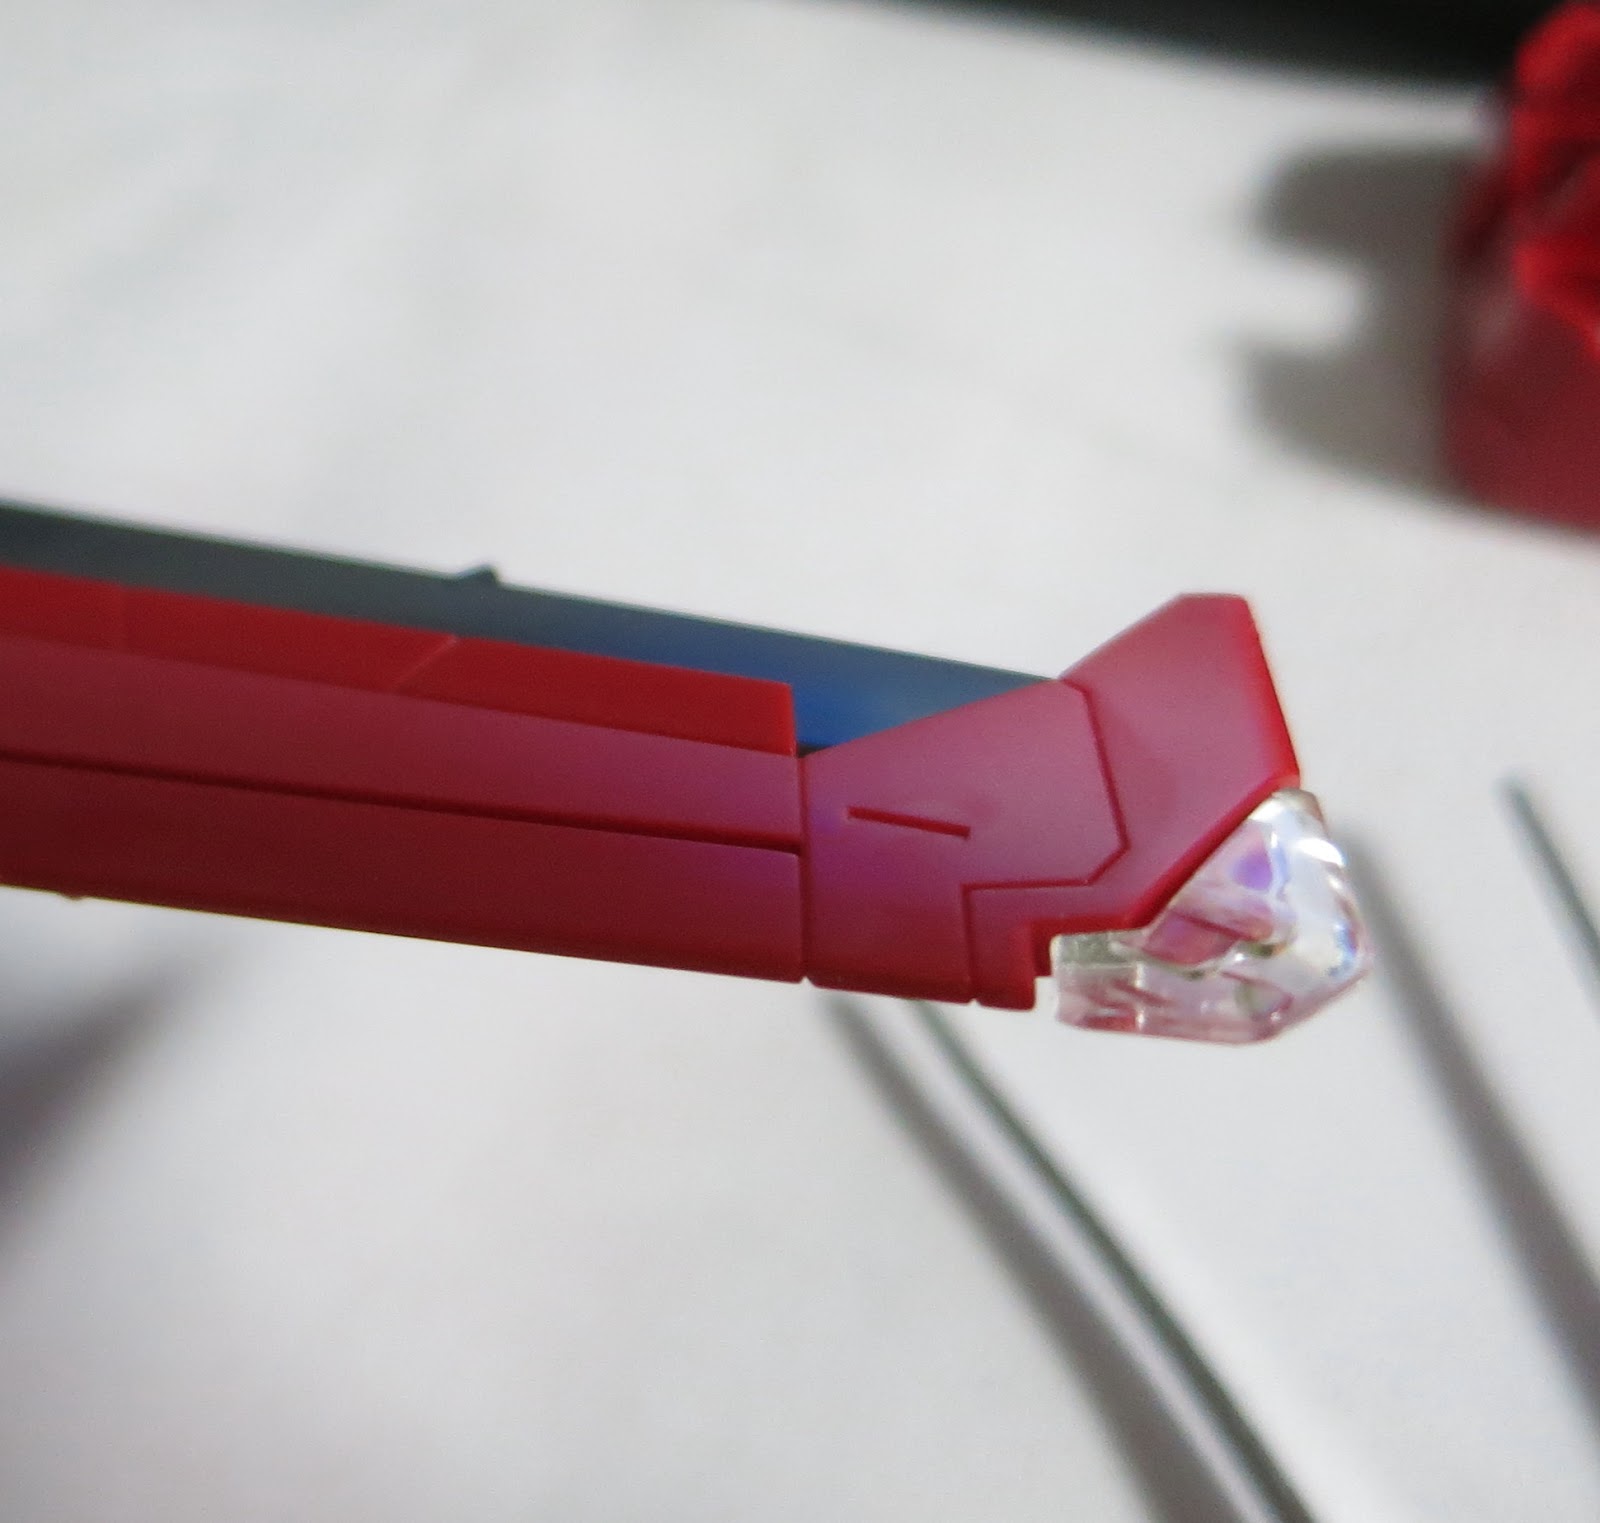
I almost forget, this was the part that need screw. The LED head light.


Complete on the main body, testing for some good shots angle.


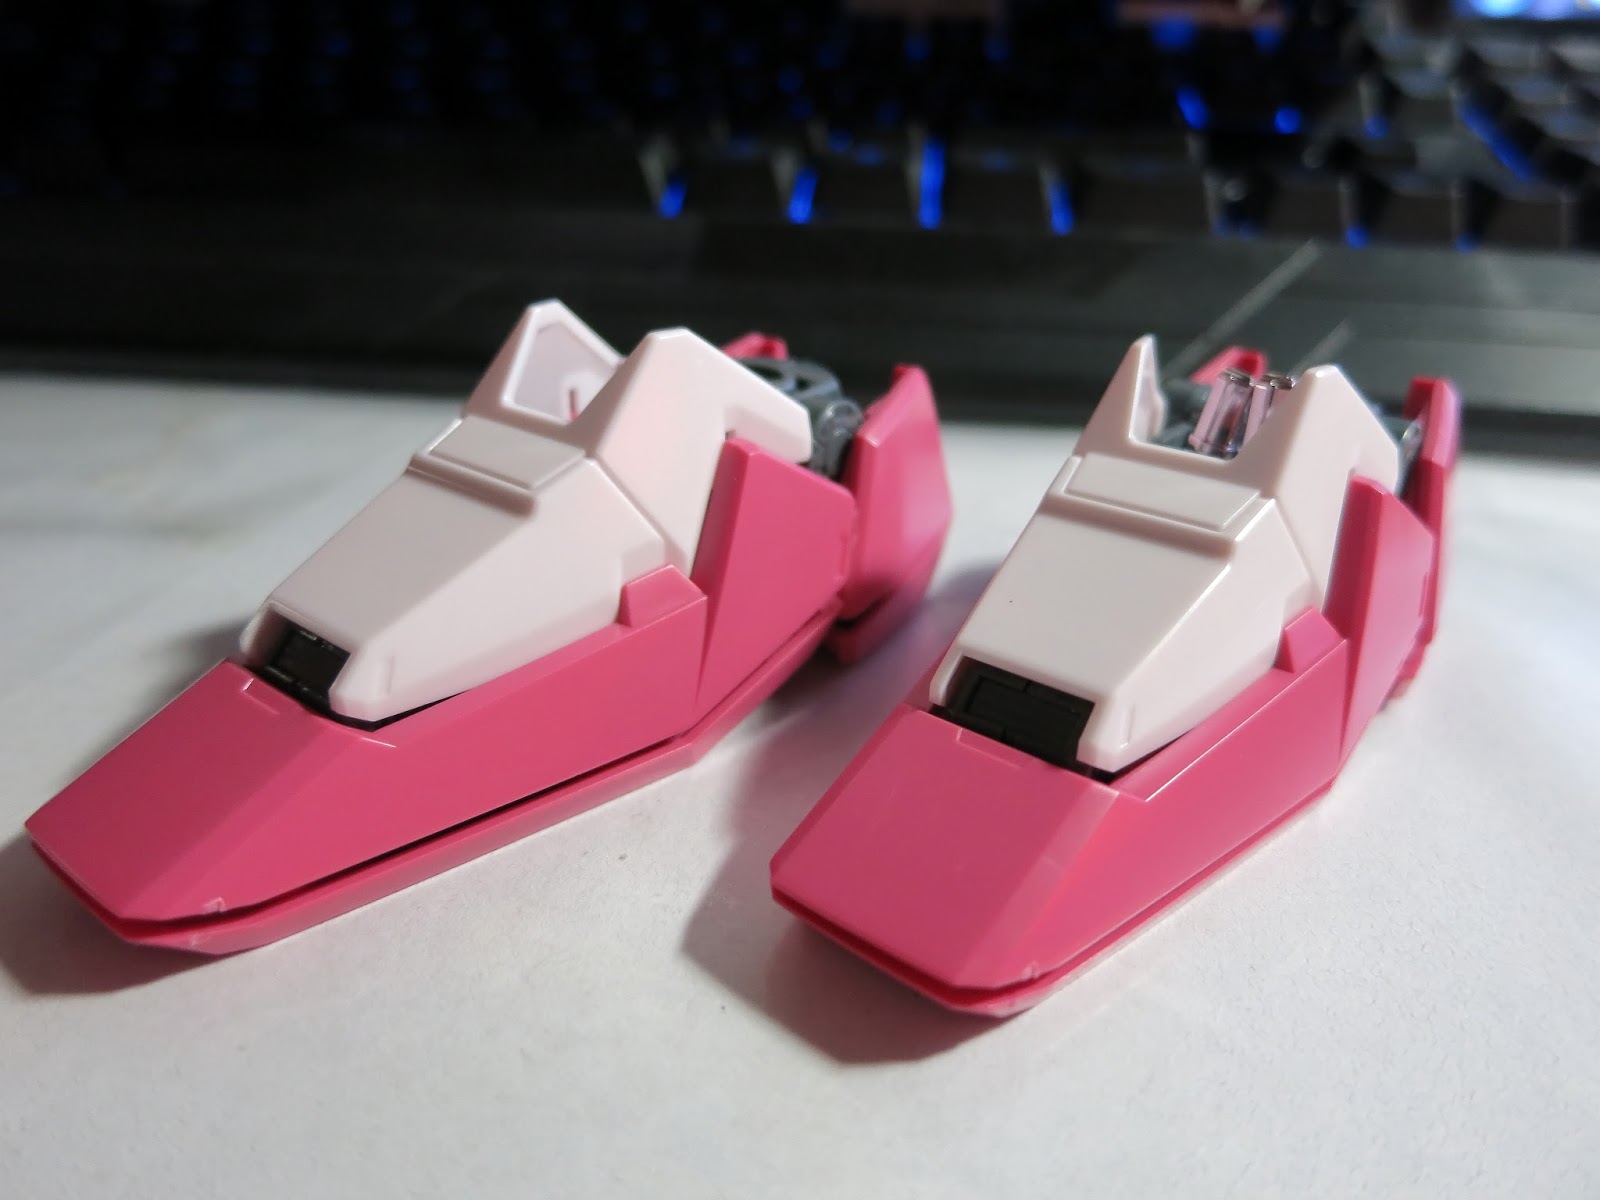
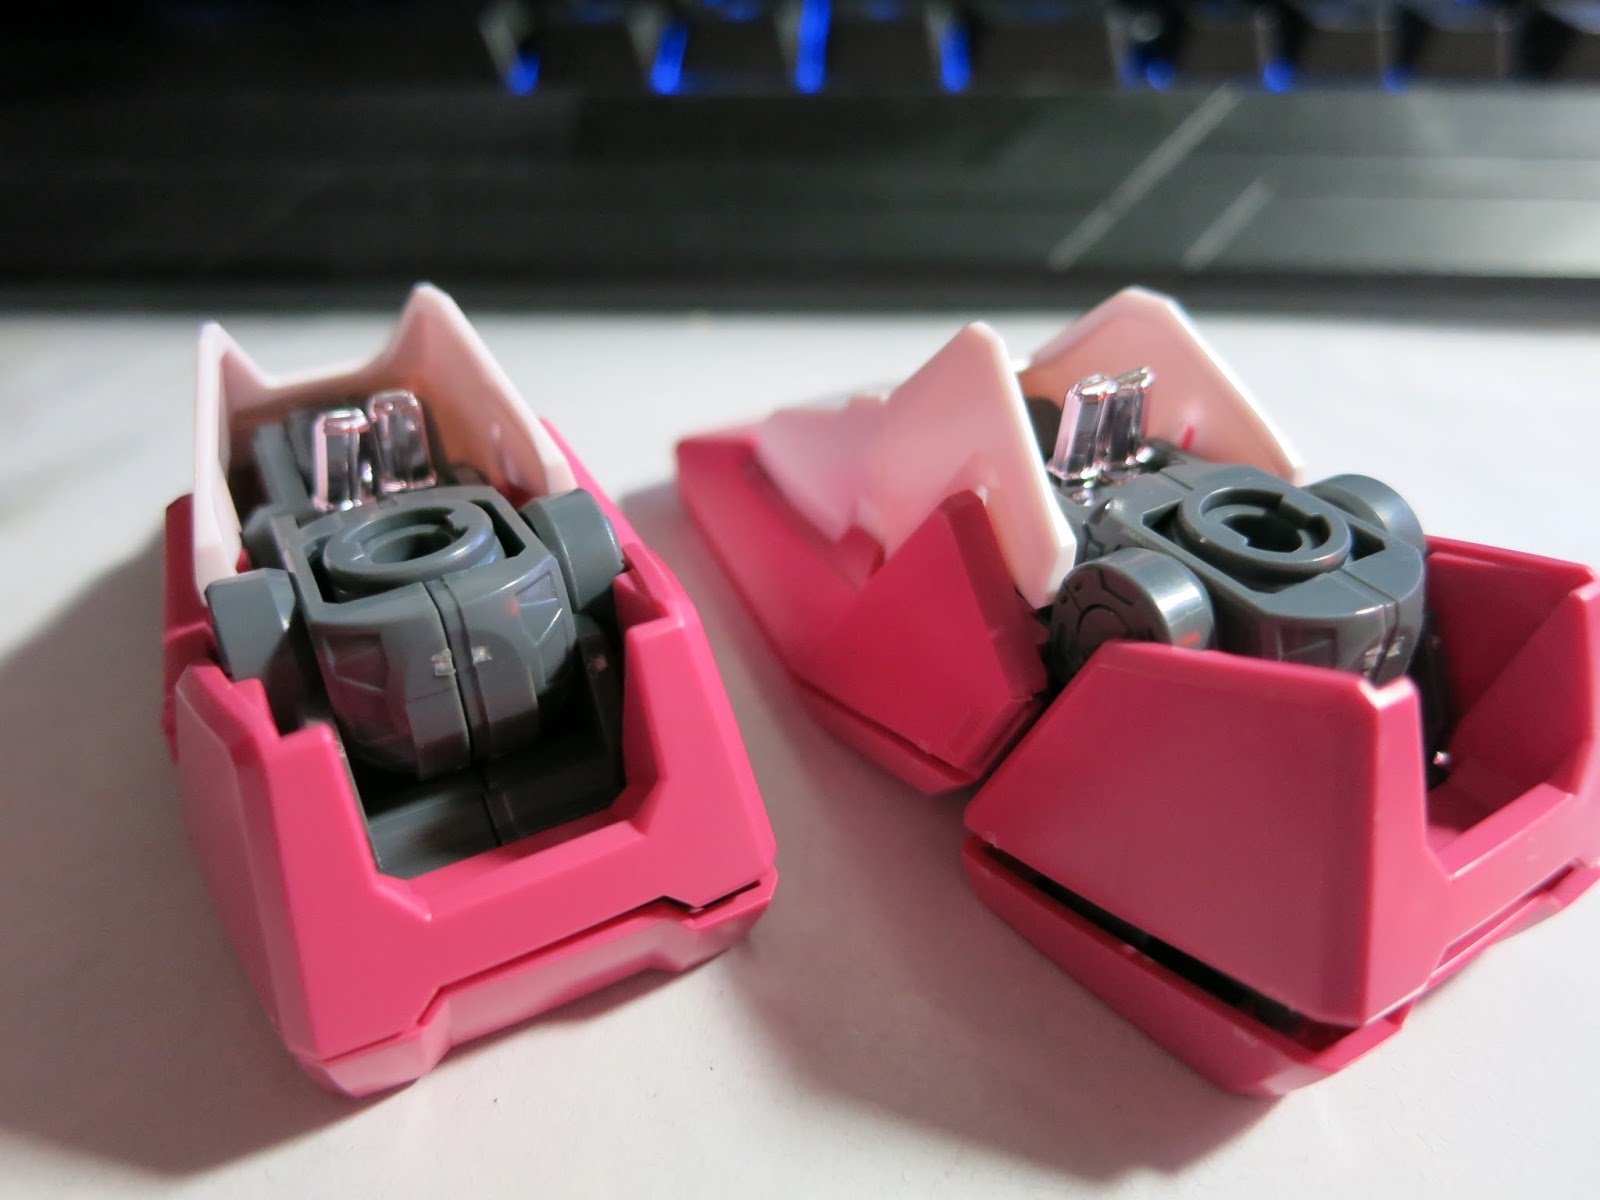
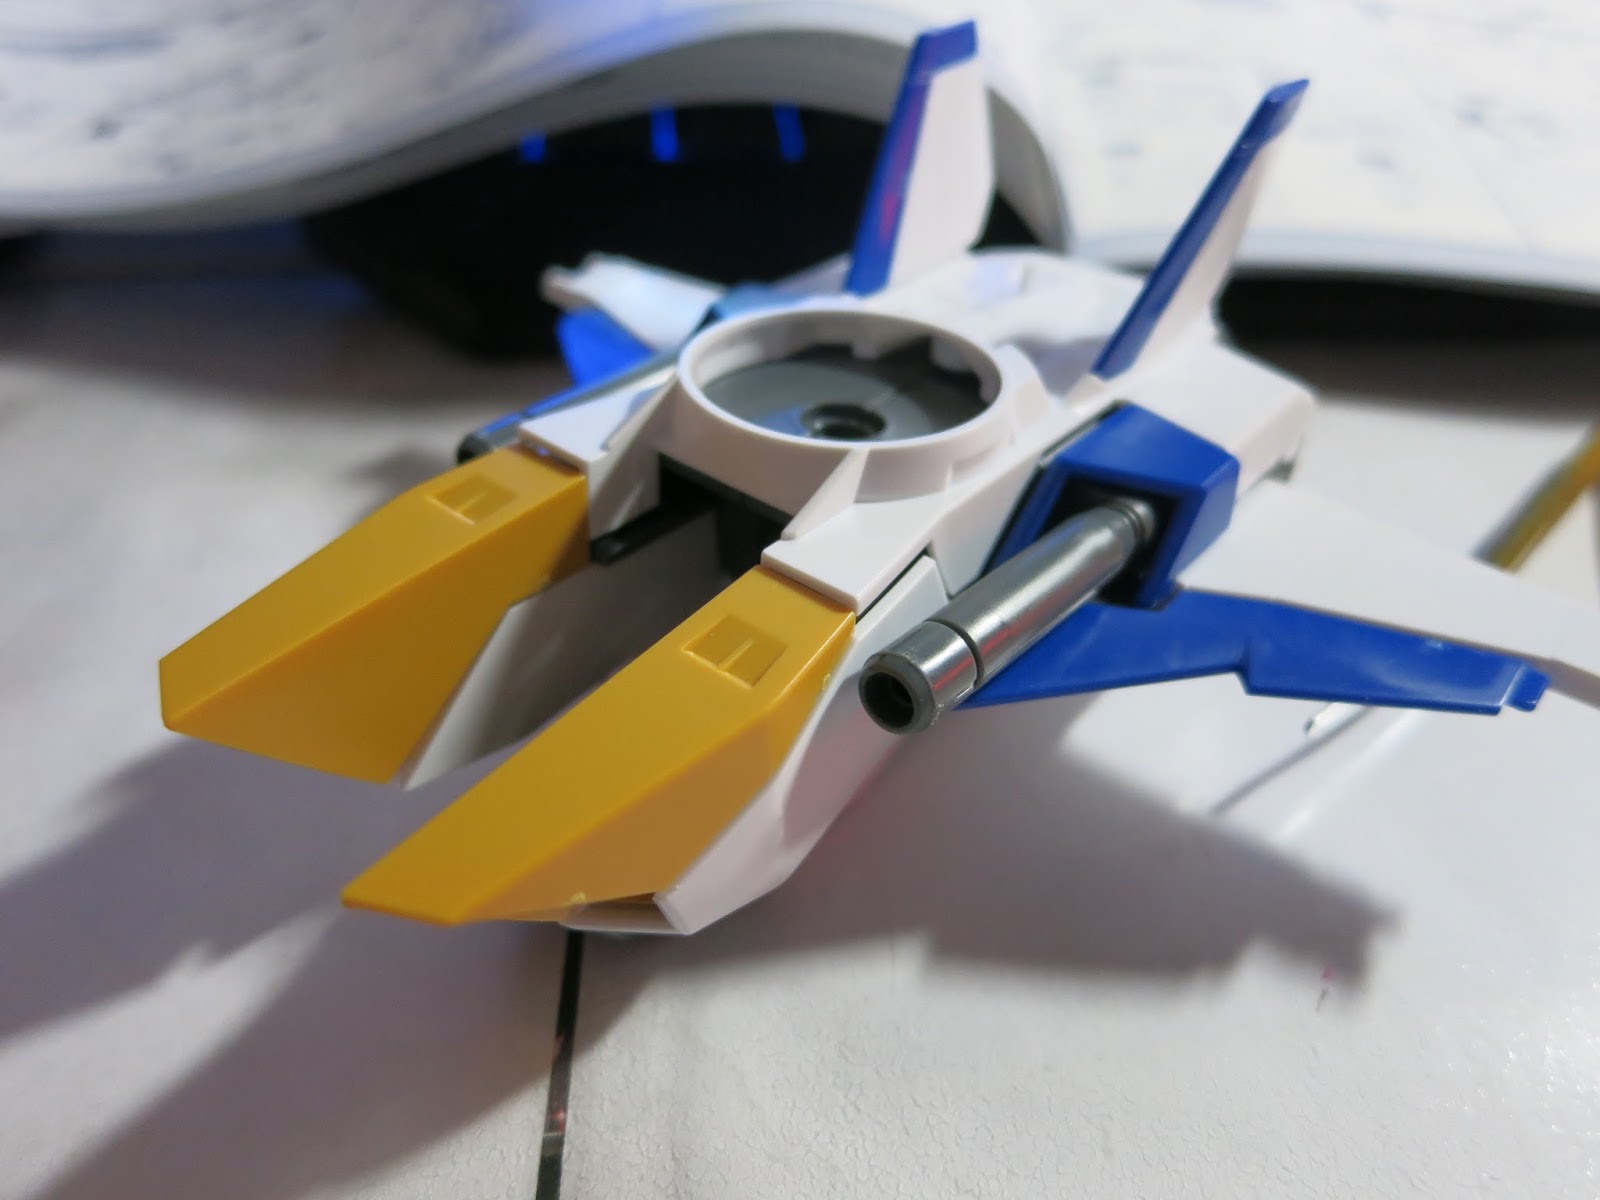
The detail on the Aile Striker pack is not bad too. It show the inner turbine in it.


Skygrasper in process.


So, that about the building process and this kit structure. I completed the SkyGraper but i didn't bother to paint it yet. I got two with me now, perhaps different color scheme like Red unit and the yellow unit (Skull leader). Alright, that'st the plan for the skygrasper. Lets start of the pose-ability and proportion of this kit.
Proportion
I normally start with the normal standing pose on any kit i build to check on the proportion. Few things that we need to focus on most of time will be the the shoulder placement. The higher the shoulder placement, the better the pose can be made which is more dynamic (the "X" proportion i called it) (Maybe I should put an article on it). Then the next part will be the length of lower torso against the waist which slight long then normal will make the entire torso look more sexy (the "S" Curve). The last part will be the length of the legs, not too long and not too short but depend back on the size of waist unit as well as the torso. It sound like I'm more describing about lady body here but I guess the concept is pretty similar isn't it. Back to this kit, i give almost perfect score for the the shoulder placement, length of lower torso and the legs. I almost forget to mention, the size of the legs are great too. It look bulky during the building process but when it fit in to the complete unit, it bulkiness became muscular sexy legs look.
Pose
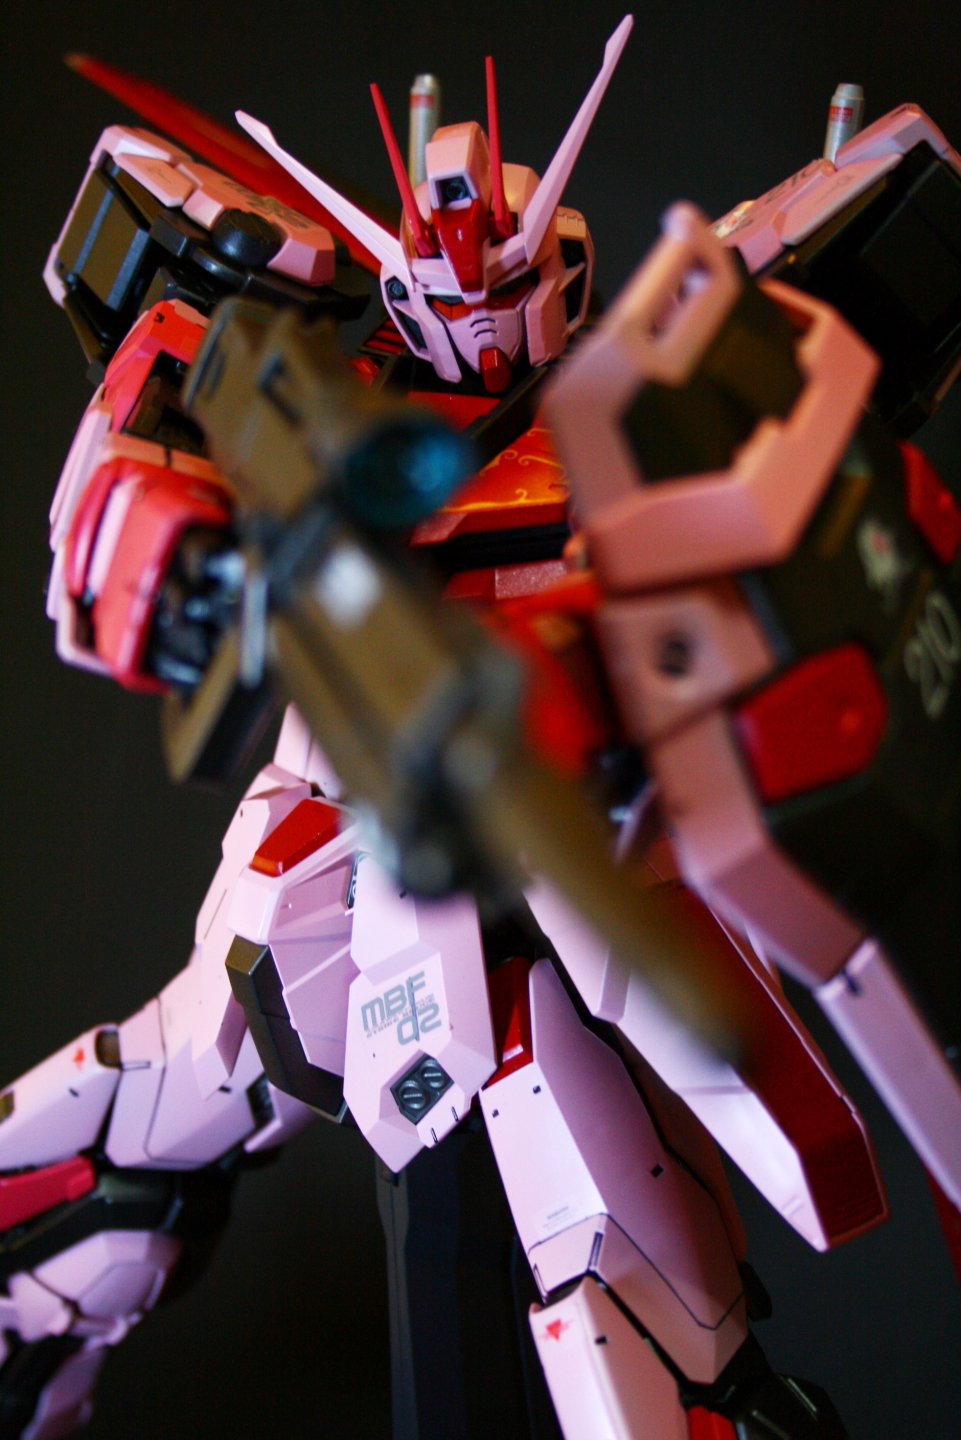
Whenever we talk about pose, proportion come first and second will be the articulations. On the pose-ability itself have its own element which is the weight (regarding on the size, get a bigger backdrop). Since i have mentioned about the proportion and articulation above, I'm going to start about the weight issue here. As usual I will said the size and weight of the PG kills everything when it come to pose which i have totally given up on the previous PG SF, OO, and Wings i built but...... but not on this. Surprisingly, the weight distribution of the entire kit is great here. The back Aile Striker pack create almost no issue like back heavy as compare to the MG old version. Maybe...... I'm not sure........ but........ maybe the size ratio on the backpack is smaller to the main body as compare to the old MG. Everything was hold pretty well when i try to make some dynamic pose. The proportion and articulation of this kit really can make endless dynamic pose-ability. Again, this kit is awesome. Lets check on the complete unit photos down here.


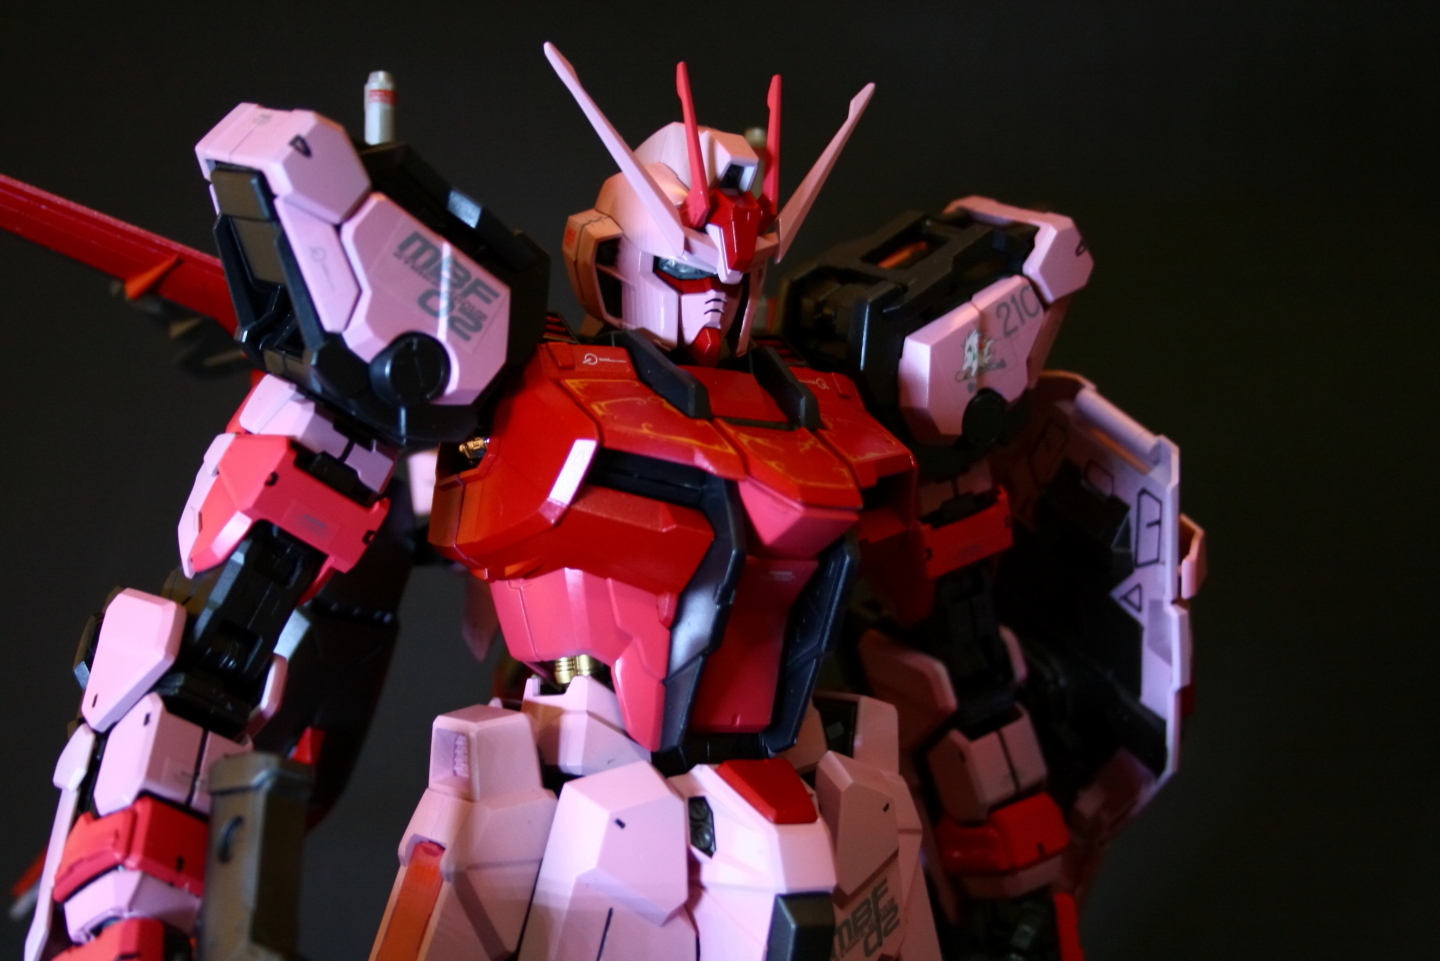


The sexy muscular part that i mentioned.


Before i wrap up this post, what about some information on the paint i use and some photo session experience.
Paint (Custom)
As usual I don't follow the guideline from the manual guide in terms of color. Although I use back the original color scheme but customize a bit such as changing some part to the main red color. I like to do that which give a bit more personalize feel on the kit we build and the entire kit not too plain. The pink on this kit look darker than the original color, seems like i might put too much red as i mix the pink color paint myself or maybe it was due to the gray color prime which I did'nt apply another white paint on the prime before painting light tone color (white base prime is important on the light color tone or give more color accuracy). The darker pink also seems close to main red on this kit. If you plan to paint the inner frame with a lot of detail, this kit is definitely the one like the PG Mk2, PG Astray and maybe, the PG SF. As for me, I'm just too lazy on painting the inner frame with multiple color to show more on the detail. Perhaps, will try on the other unit. Here is the list of paint that use.
-Mr.Surfacer 1200 x 3.5 bottles
-Silver (Mr. Color Silver) for the inner frame
-Black (Mr.Color metallic black mix with Mr.Color Silver) more metallic feel
-Pink (Mr.Color white 70%, Mr.Color red 30%)
-Dark Pink (Mr.Color white 40%, Mr.Color red 60%)
-Red (Mr.Color Metallic red)
-Panel line (gundam marker)
-Original Decals and markings.
Photo session
I seldom share about the photo session but I just found out something interesting here. The complete unit photo was taken by Canon EOS 400D and the most interesting is the lens which is the kit lens, Canon EF-S 18-55mm. There is a lot of limitation of this lens when it come to 1/100 MG and 1/144 HG/RG due to it minimum focus length was 28 cm but when i use it on the big size kit like this, the 1/60 PG/HG, the kit fit perfectly with proper framing and the focus length was close to perfect. I don't know how to describe in detail but just get a big backdrop for this big kit and you will found out what i mean on this lens. One thing that i quite regret for this photo session is i'm using the wrong backdrop (should have use white instead of black). I got not enough light setting to brighten up the picture and the other problem was the contrast become too strong when i try to brighter setting (perhaps, a good F2.8 will help a lot huh). My apology for some photo too dark, i tried to save as much as possible and this is what left.
Modification
Modification? well, i got the some part with other color. Alright, that is not what i'm trying to say here. What i really mean about the modification on this kit, minimal will also do.... for this kit. As i said, the five element (structure, detail, articulation, pose and proportion) are close too perfect. What else can we ask for. Unless, for the additional armaments like weapons, extra armor or a PG IWSP pack perhaps. Of course there are still plenty of rooms for more details to be add on this kit as well as armor trimming to show more on the inner frame. Its all up to you, All I can said is, the basic of this kit are good so we can actually directly go for some extreme mod without worrying much on strengthen the structure, change or improve the joint or others.
So, that's all for this kit. What's coming up?
I don't know yet but many long weekend coming up, might aim for something complicated. Yeah!!!
No comments:
Post a Comment